Activating Your Milk Kefir
Congratulations on your new Mountain Kefir grains! Good news – your new little milk kefir grains are pretty low maintenance BUT they’ve been on a long and stressful journey, so it’s important that you feed them as soon as they arrive! It will only take 2 minutes!!
And while it’s not ideal, if you can’t look after your new grains right away, quickly pop them into the fridge until you’re able to.
Now, let’s get started on your first batch of milk kefir!
What you’ll need:
- 1 packet of Mountain Kefir grains
- 1/4 cup of whole milk for small packages (4g) and 1/2 cup for medium (8g)
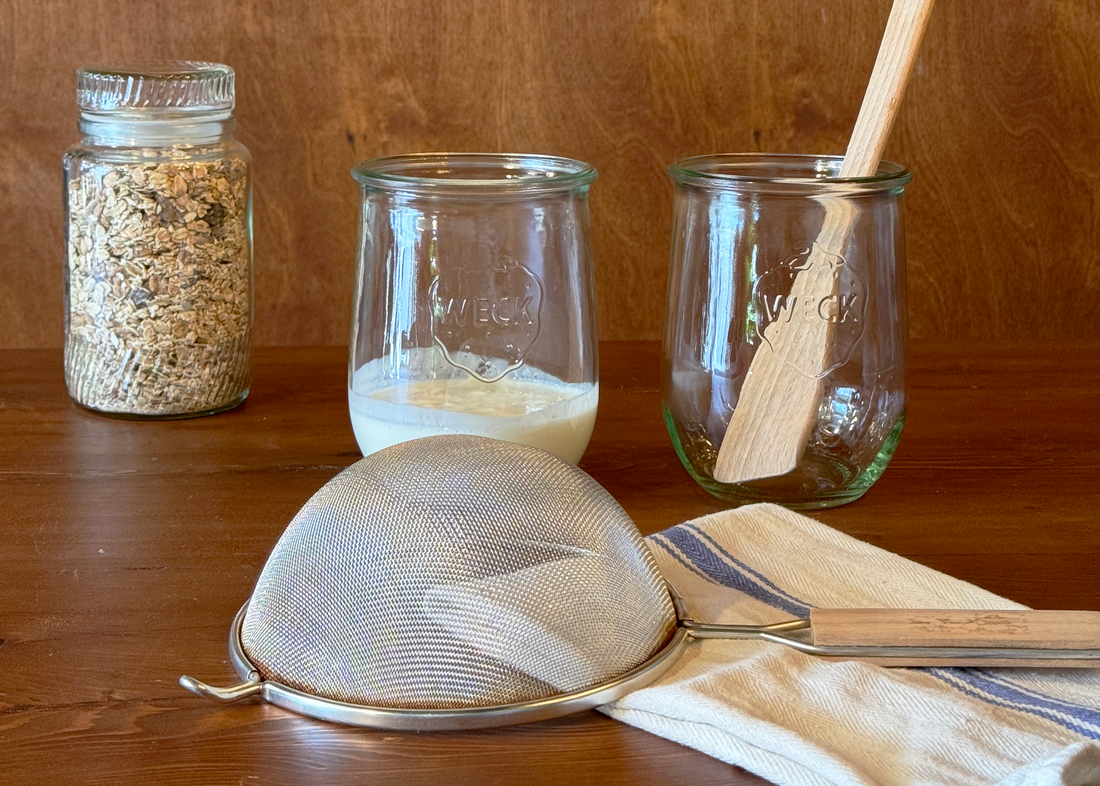
- A glass jar
- A wooden or silicone spatula
- A breathable cover, like a coffee filter or cloth napkin, held in place by a rubber band (not cheesecloth!)
- A fine mesh strainer
- A bowl or jar (glass or plastic)
Step 1
Your kefir grains are shipped in a little organic milk to keep them fed along the way. Once they arrive, empty the package into your fine mesh strainer to separate your grains and give them a quick rinse with a little milk or some cool, drinkable water.
Step 2
Pour milk into the glass jar and add your new kefir grains. Stir it up! Using the wooden spoon, give the milk and grains a gentle stir to make sure the grains are well exposed to the milk.

Step 3
Cover the jar opening using a coffee filter or cloth held in place by a rubber band. This lets your kefir breathe while keeping it clean. Place the jar in a warm spot away from direct sunlight. About 70-78 degrees Fahrenheit (21-25°C) is the kefir comfort zone.
Now take a break – let your kefir ferment for about 24 hours.
Step 4
After 24 hours, place a fine mesh strainer over a new jar and pour kefir into the strainer.

Step 5
Gently massage the kefir with a spatula until only the grains are left in the strainer. Now this is important – hang on to your little grains!! Their work has only just begun!

Step 6
Once again, add milk to the jar you just emptied (same amount you used the first time) and pop the separated grains back in to repeat the whole process.

Keep making these small batches until your kefir is thickening within 24 hours. This can take up to 2-5 batches, so be patient! Be sure to keep providing them with fresh milk even if the milk isn’t thickening during the first few batches. These little grains have been making kefir for centuries, and they’re not about to stop now!
When can you start drinking the kefir?
Now you’re probably wondering what to do with the contents of the bowl you just strained. Generally, I hold off on drinking the first couple batches.
Once your kefir grains are settled into their new home and your kefir is thickening within 24 hours, give it a little sniff test! If it smells tangy and like fresh yogurt, pop it in the fridge to set for a couple hours and then dig in! If it smells funky, hold off and keep making small batches until it is thickening and smells like delicious yogurt.
Need help? Check out our Troubleshooting FAQs!
Once your kefir grains are settled, follow our instructions below for making your daily kefir!

Making Your Daily Milk Kefir
Once your starter batches are fermenting in 24 hours, you’re ready to ramp up production. Generally, we recommend using ½ to 1 teaspoon of grains per cup of milk.
Step 1
Place your kefir grains in a glass jar with milk using the ratio of ½ to 1 teaspoon of grains per cup of milk. Stir, cover and let it sit for 24 hours.
Step 2

You will know your kefir is ready when small bubbles of clear liquid (which is whey) form in the jar, usually at the bottom. That’s your signal to start straining!
Strain the contents of the jar (you know the drill by now!) to separate the kefir grains. Pop the grains back into the jar, add milk and repeat. Place your freshly strained kefir into the fridge for a couple hours to set, and then enjoy!
Step 3: Adapting!
Your kefir grains need to be fed every 24 hours. If your kefir has fully separated into curds and whey (i.e. there’s LOTS of liquid at the bottom of your jar), don’t panic. This just means that it has fully fermented – you can stir it back together but will be bubbly and quite sour. Some people like this but try not to let it over ferment too often as that can stress out your kefir grains!
Every environment is different and it’s important that you listen to your little kefir grains. If your environment is cooler and your kefir isn’t thickening within 24 hours, decrease the amount of milk you use. And if your environment is too warm and your kefir is fermenting too quickly (i.e. separating into curds and whey), either add more milk or remove some grains from your batches to slow things down. Sometimes in the peak of summer, it is helpful to put your kefir in a cooler spot.
The same goes for finding your optimal flavour! The more fermented the kefir, the tangier it will taste and it will get increasingly carbonated. Once you’ve figured out your golden ratio, just keep following the same steps – but keep in mind that you may need to adapt as the seasons change!
